| Bimalleolar fractures | Trimalleolar fractures |
|---|---|
|
Fibular + medial malleolus Fibular + posterior malleolus |
Fibular + Medial malleolus + Posterior malleolus |
 |
 |
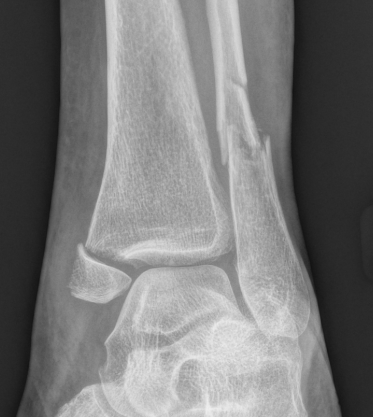
Bimalleolar fractures
Medial malleolus + Weber B lateral malleolus
| Fibula | Medial Malleolus | Syndesmosis |
|---|---|---|
|
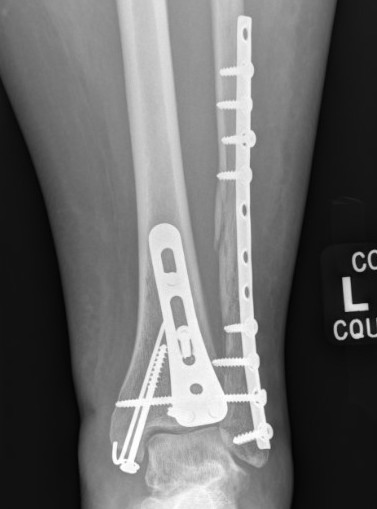
1. Interfragmentary lag screw + neutralisation plate
2. Locking plate |
2 partially threaded lag screws Tension band wire Plate |
Should be stable with Weber B Cotton test Clamp on fibula and attempt to open syndesmosis under II) |
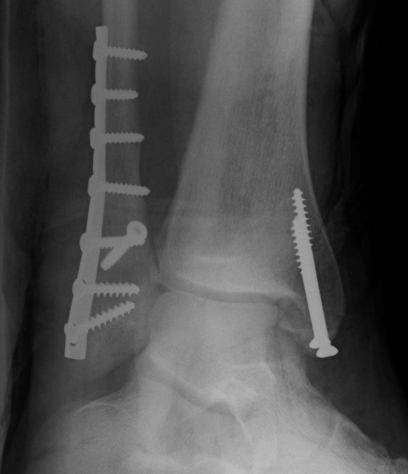
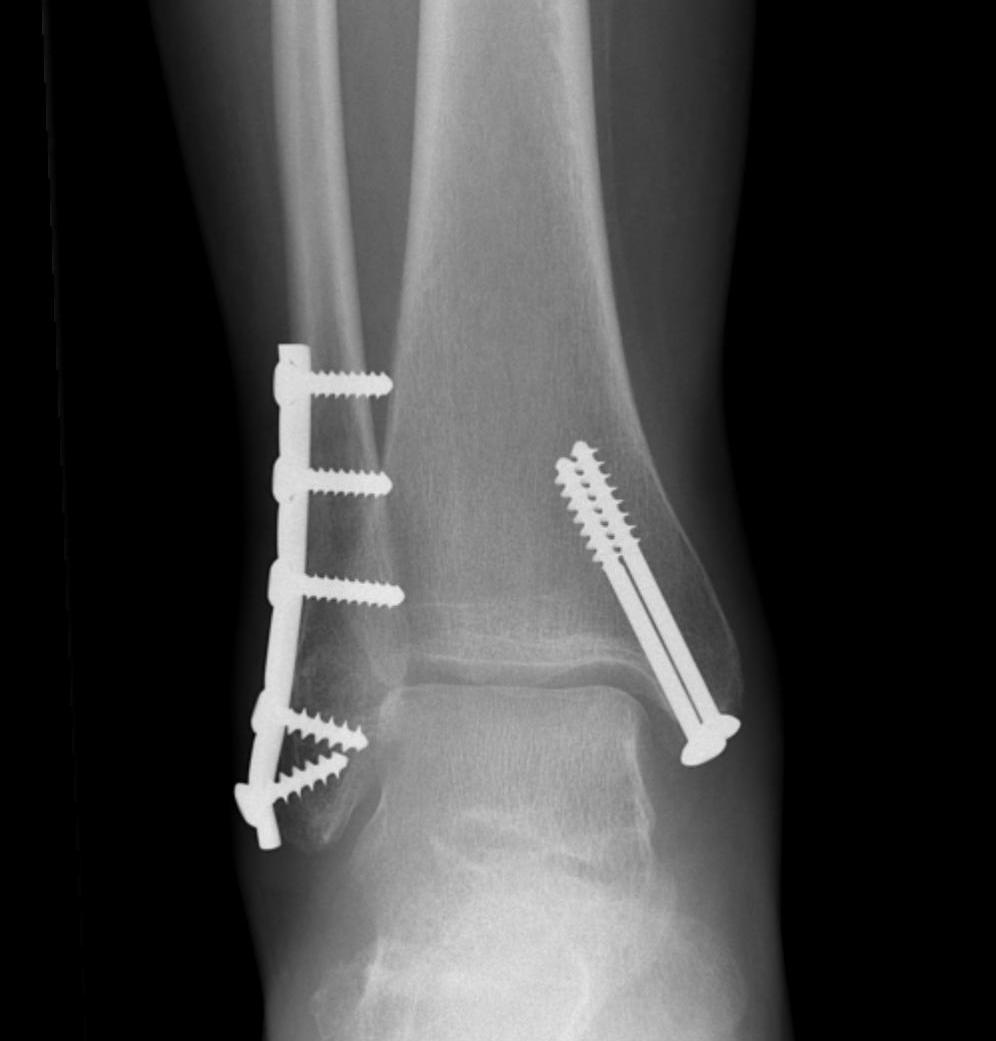
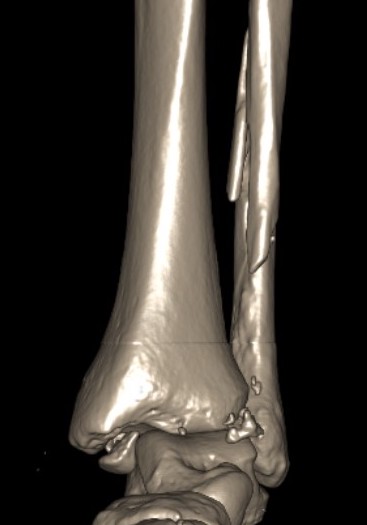
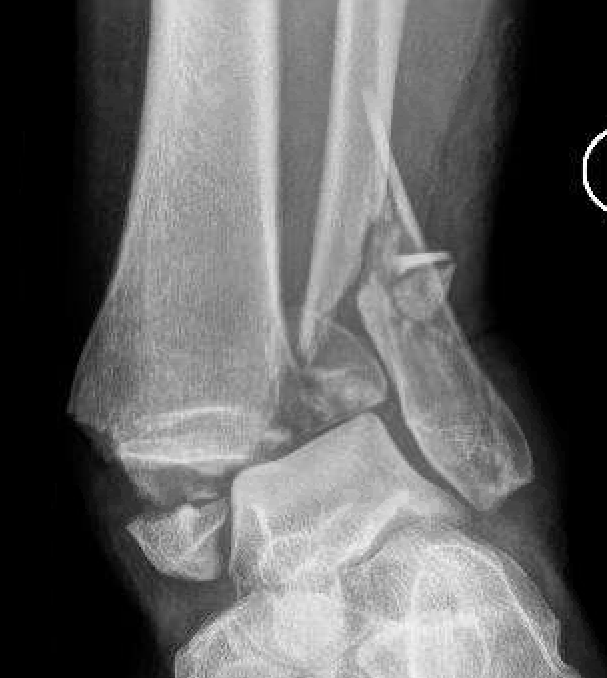
Medial malleolus + Weber C lateral malleolus
| Fibula | Medial Malleolus | Syndesmosis |
|---|---|---|
|
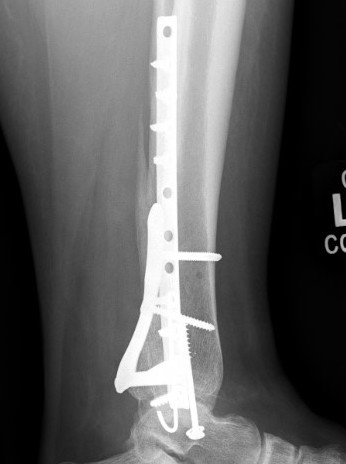
1. Interfragmentary lag screw + neutralisation plate
2. Locking plate |
2 partially threaded lag screws Tension band wire Plate |
Open reduction of syndesmosis Stabilized with screws / tightrope |
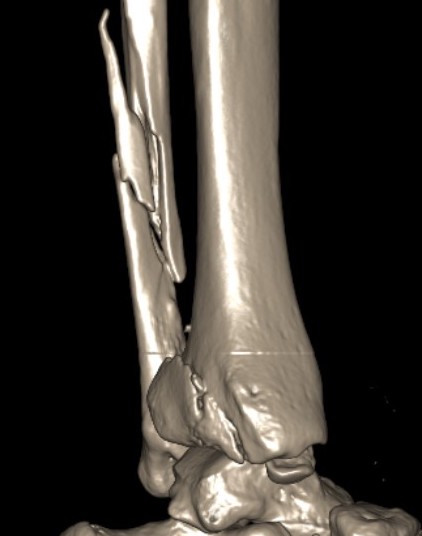
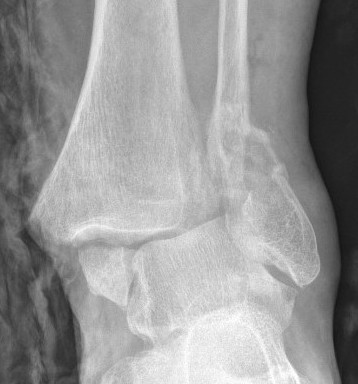
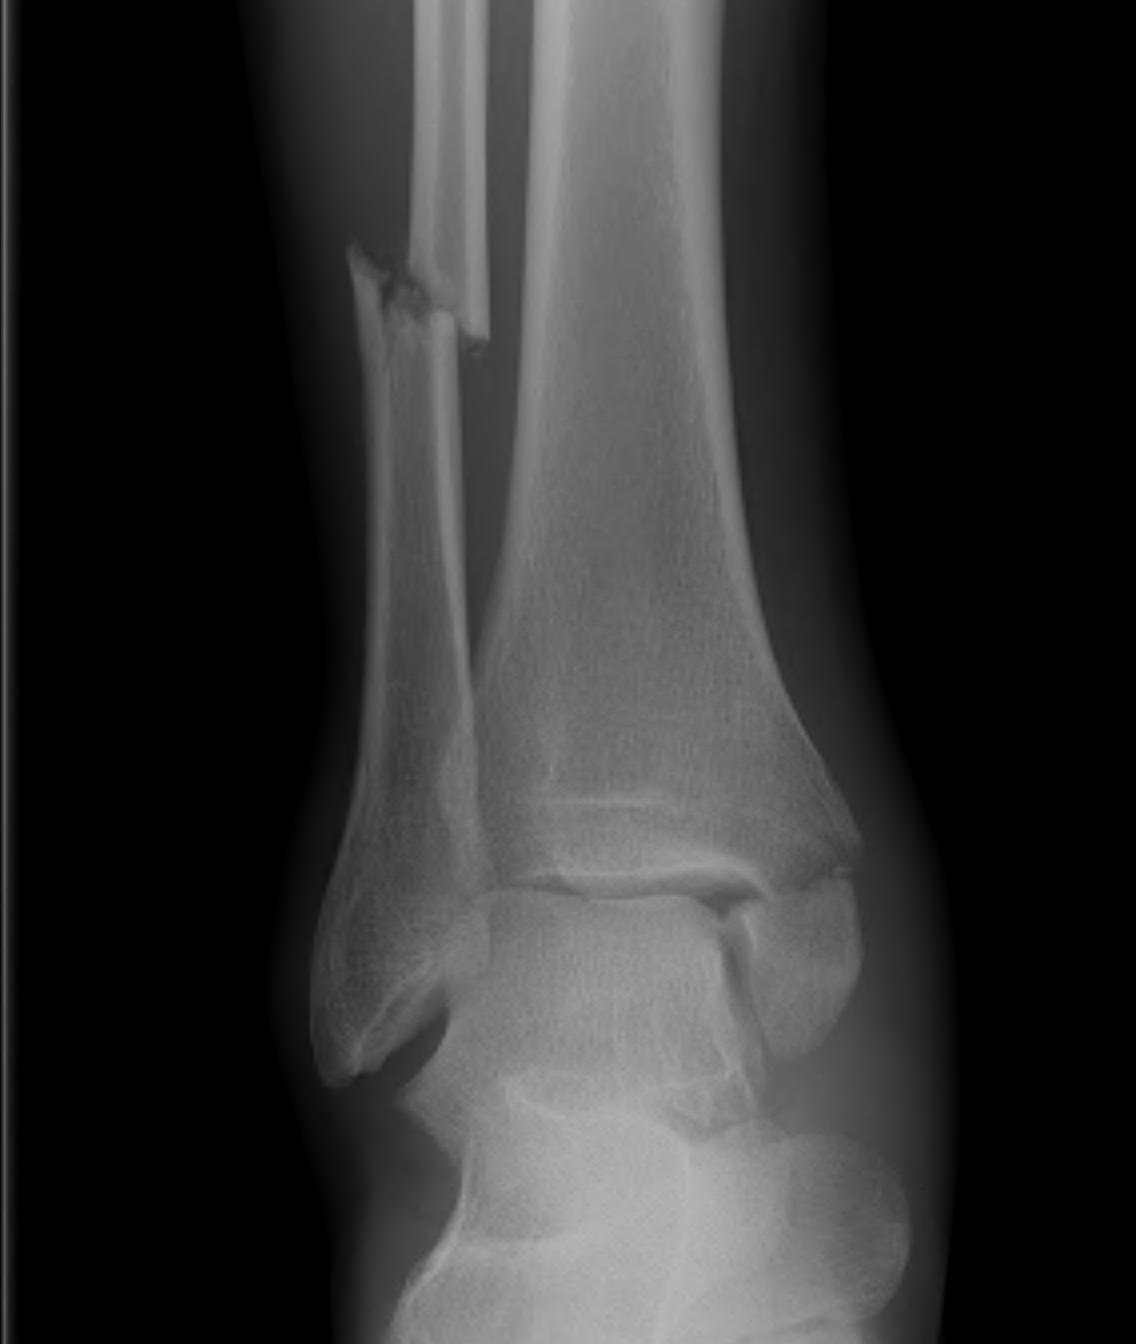
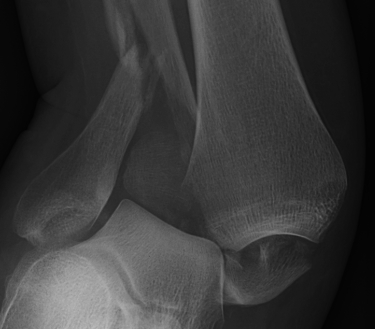
Fibular fracture + posterior malleolus
Postero-lateral approach
| Fibula | Posterior Malleolus | Syndesmosis |
|---|---|---|
|
1. Interfragmentary lag screw + neutralisation plate
2. Locking plate |
Buttress plate +/- screws |
Usually stable with fixation of posterior malleolus Screen +/- stabilize |

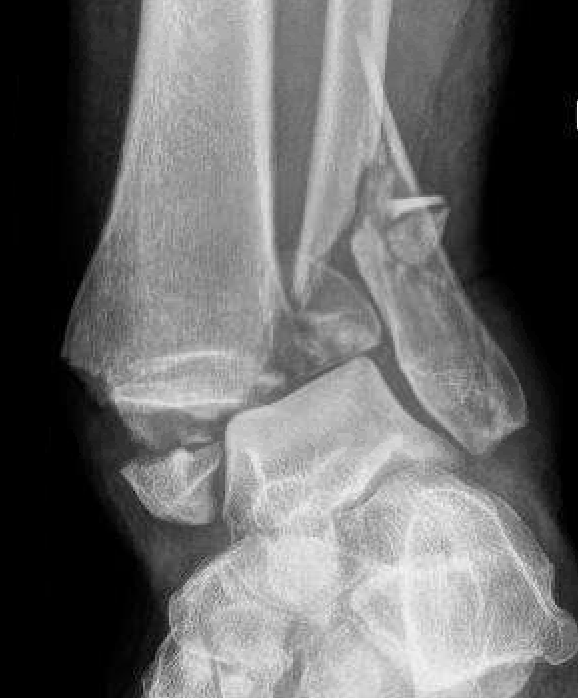
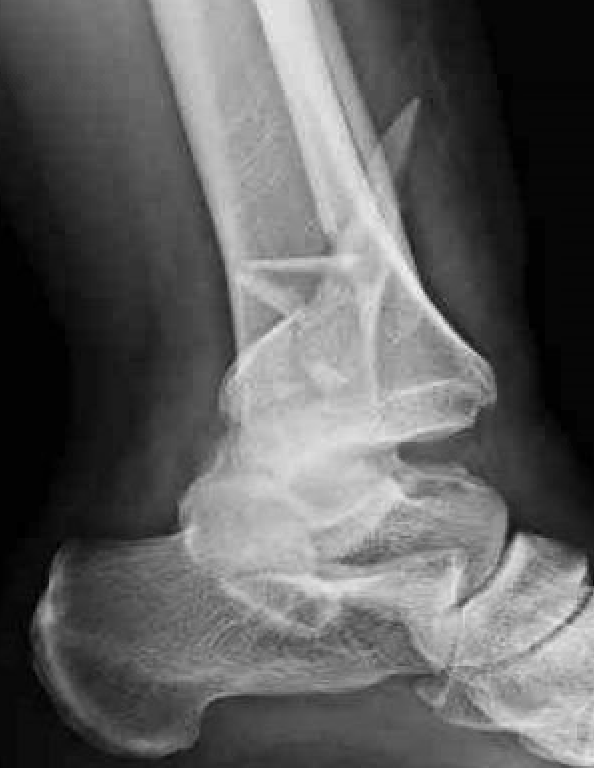
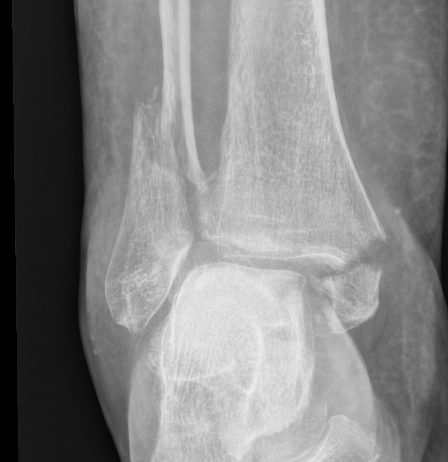
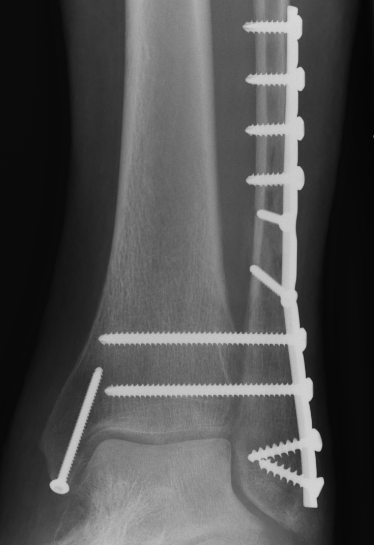
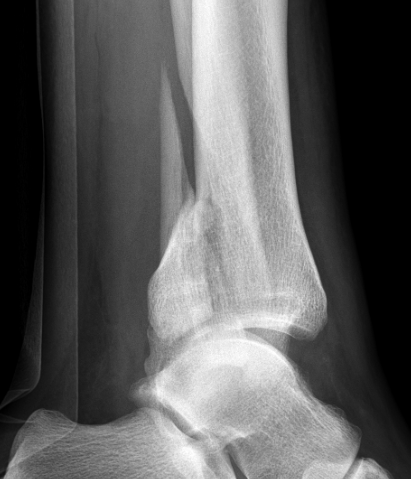
Tri-Malleolar Fracture
Definition
Lateral malleolus + medial malleolus + posterior malleolus
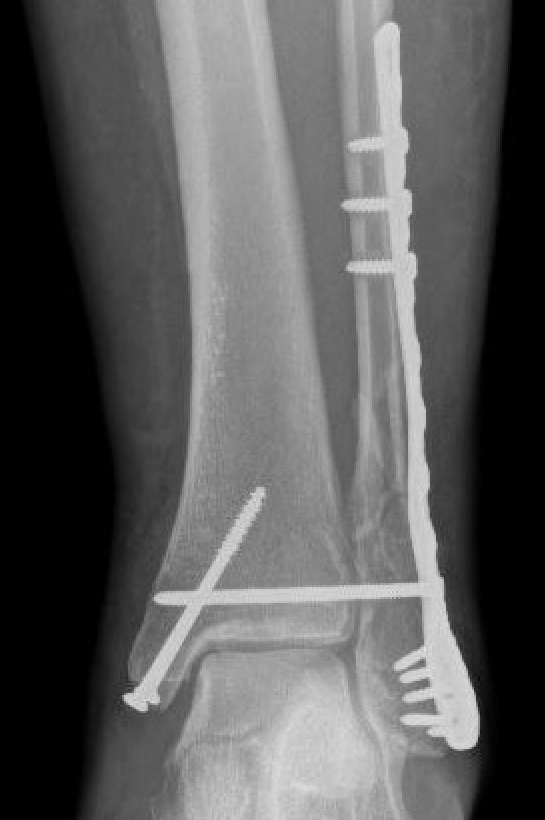
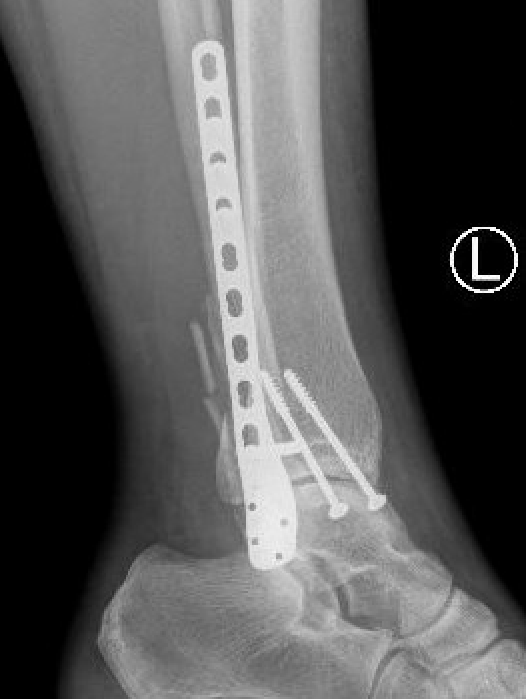
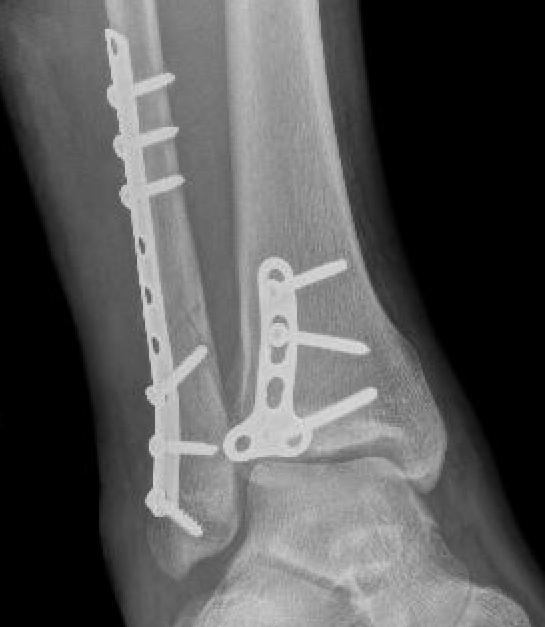
Posterolateral approach
- prone or lateral
- ORIF fibula + posterior malleolus
- move patient to supine to ORIF medial malleolus